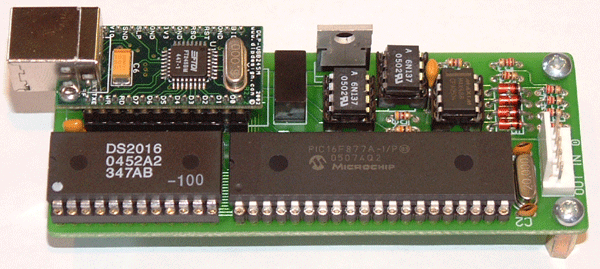
Step 6 - Finishing the PCB
Fit all the IC's into their respective sockets, please take static precautions before handling the IC's. At the very least that means earthing yourself before handling them. You can do this by touching a water tap or radiator. Note the direction of the IC's.

|
|
The finsihed 1.2 PCB
|
|
Generally the legs of the IC's are angled slightly outwards, this makes them tricky to get into the sockets. Its a good idea to straighten the legs with a pair of snipe nose pliers or a small screwdriver. When pushing them into the sockets use a firm but even force making sure that none of the legs bend underneath the body.
On the 1.3 PCB there is an arrow that lines up with the dot on the PLCC microprocessor. PLCC chips are hard to remove wihtout a special tool if you get them in the wrong way round.
On the 1.2 PCB you will need to either fit a PCB support pillar to the PCB under the USB socket before you fit IC2 into place, or remove IC2 later to fit it. If you remove it later be very careful as its very easy to bend / snap the legs of as you remove it.