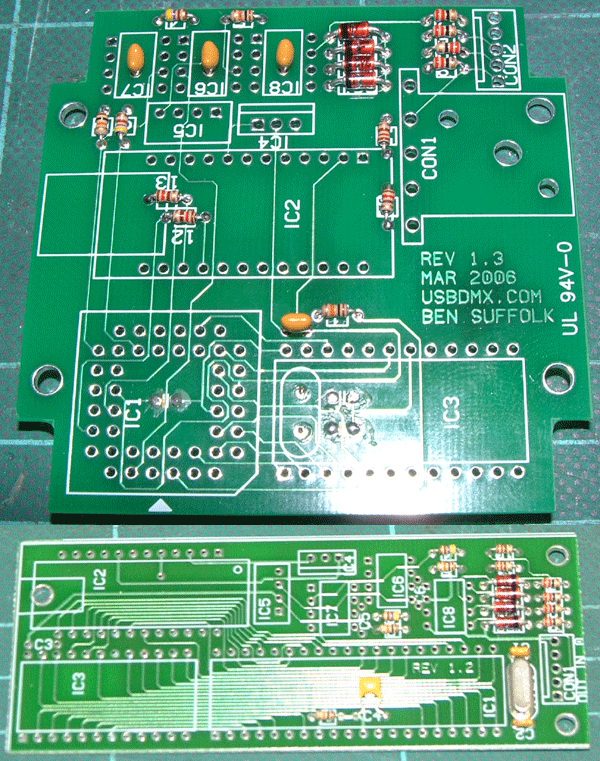
Step 3 - Fitting the capacitors
The next step is to fit the capacitors and the zener diodes. On the revision 1.2 PCB you will also need to fit the Xtal. Again on the 1.2 PCB you will note that C6 is not yet fitted. this is because if comes directly between IC6 and IC8. Because I am using sockets for these chips (the line driver and opto, its a good idea incase they need replacing) its a bit of a tight squeeze, so you will need to mount this one later.
On the 1.3 PCB I have alos assumed that you wil be using sockets, and that the capacitor will fit inside the sockets for IC6,7 & 8. If not you will need to mount them on the underside.
Make sure you get the zener diodes fitted the right way round. There is a line on the diode, and one on the PCB. Make sure they line up.
|
|
PCB with capacitors and zener diodes fitted
|
|
You may also want to leave C3 till after you have fitted the socket for IC3 on the 1.2 PCB, just to make sure its not going to get in the way at all.
Although its quite hard to see from the picture, I have bent C4 over to make sure the it does not get in the way of IC1 when its fitted into its socket on the 1.2 PCB. You should check that C4 will fit under the socket, it may be that you need to mount it on the underside of the board.

